Employee profile pictures can be changed by users from the top navigation pane or within the My Profile pop-up.
Navigating to Profile Settings
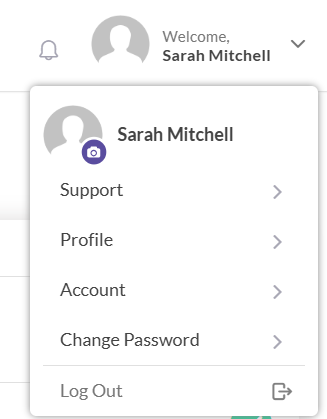
- Navigate to your name at the top right of the screen and click on it to open a drop-down menu.
- The profile picture in the dropdown shows your existing photograph with a small camera icon. If no image has been uploaded, a blank silhouette will be displayed.
Updating Your Image
- Click on the photograph with the camera icon to open a pop-up window.
- Click on Add Profile picture from the popup and select an image, or simply drag and drop an image into the designated area.
- Note: Only JPG, PNG, and BMP files are accepted, with a maximum file size of 1MB.

- Crop the image as desired and click Save.
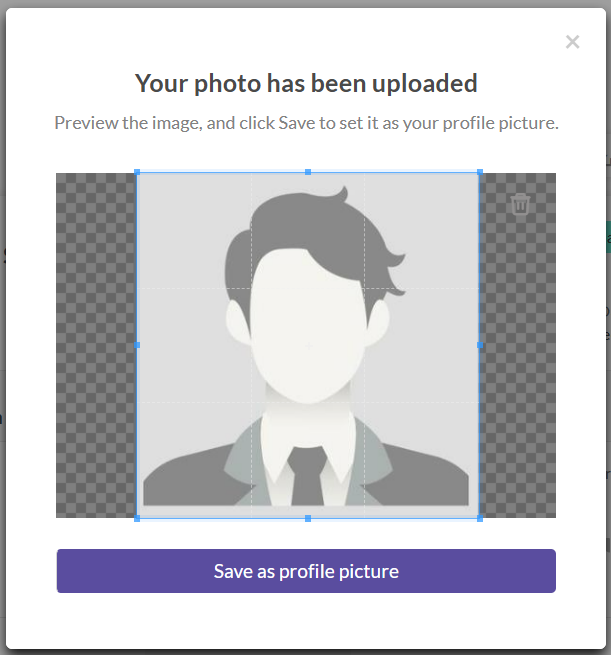
Your new profile picture is now saved and will appear across the platform.